AL16X5

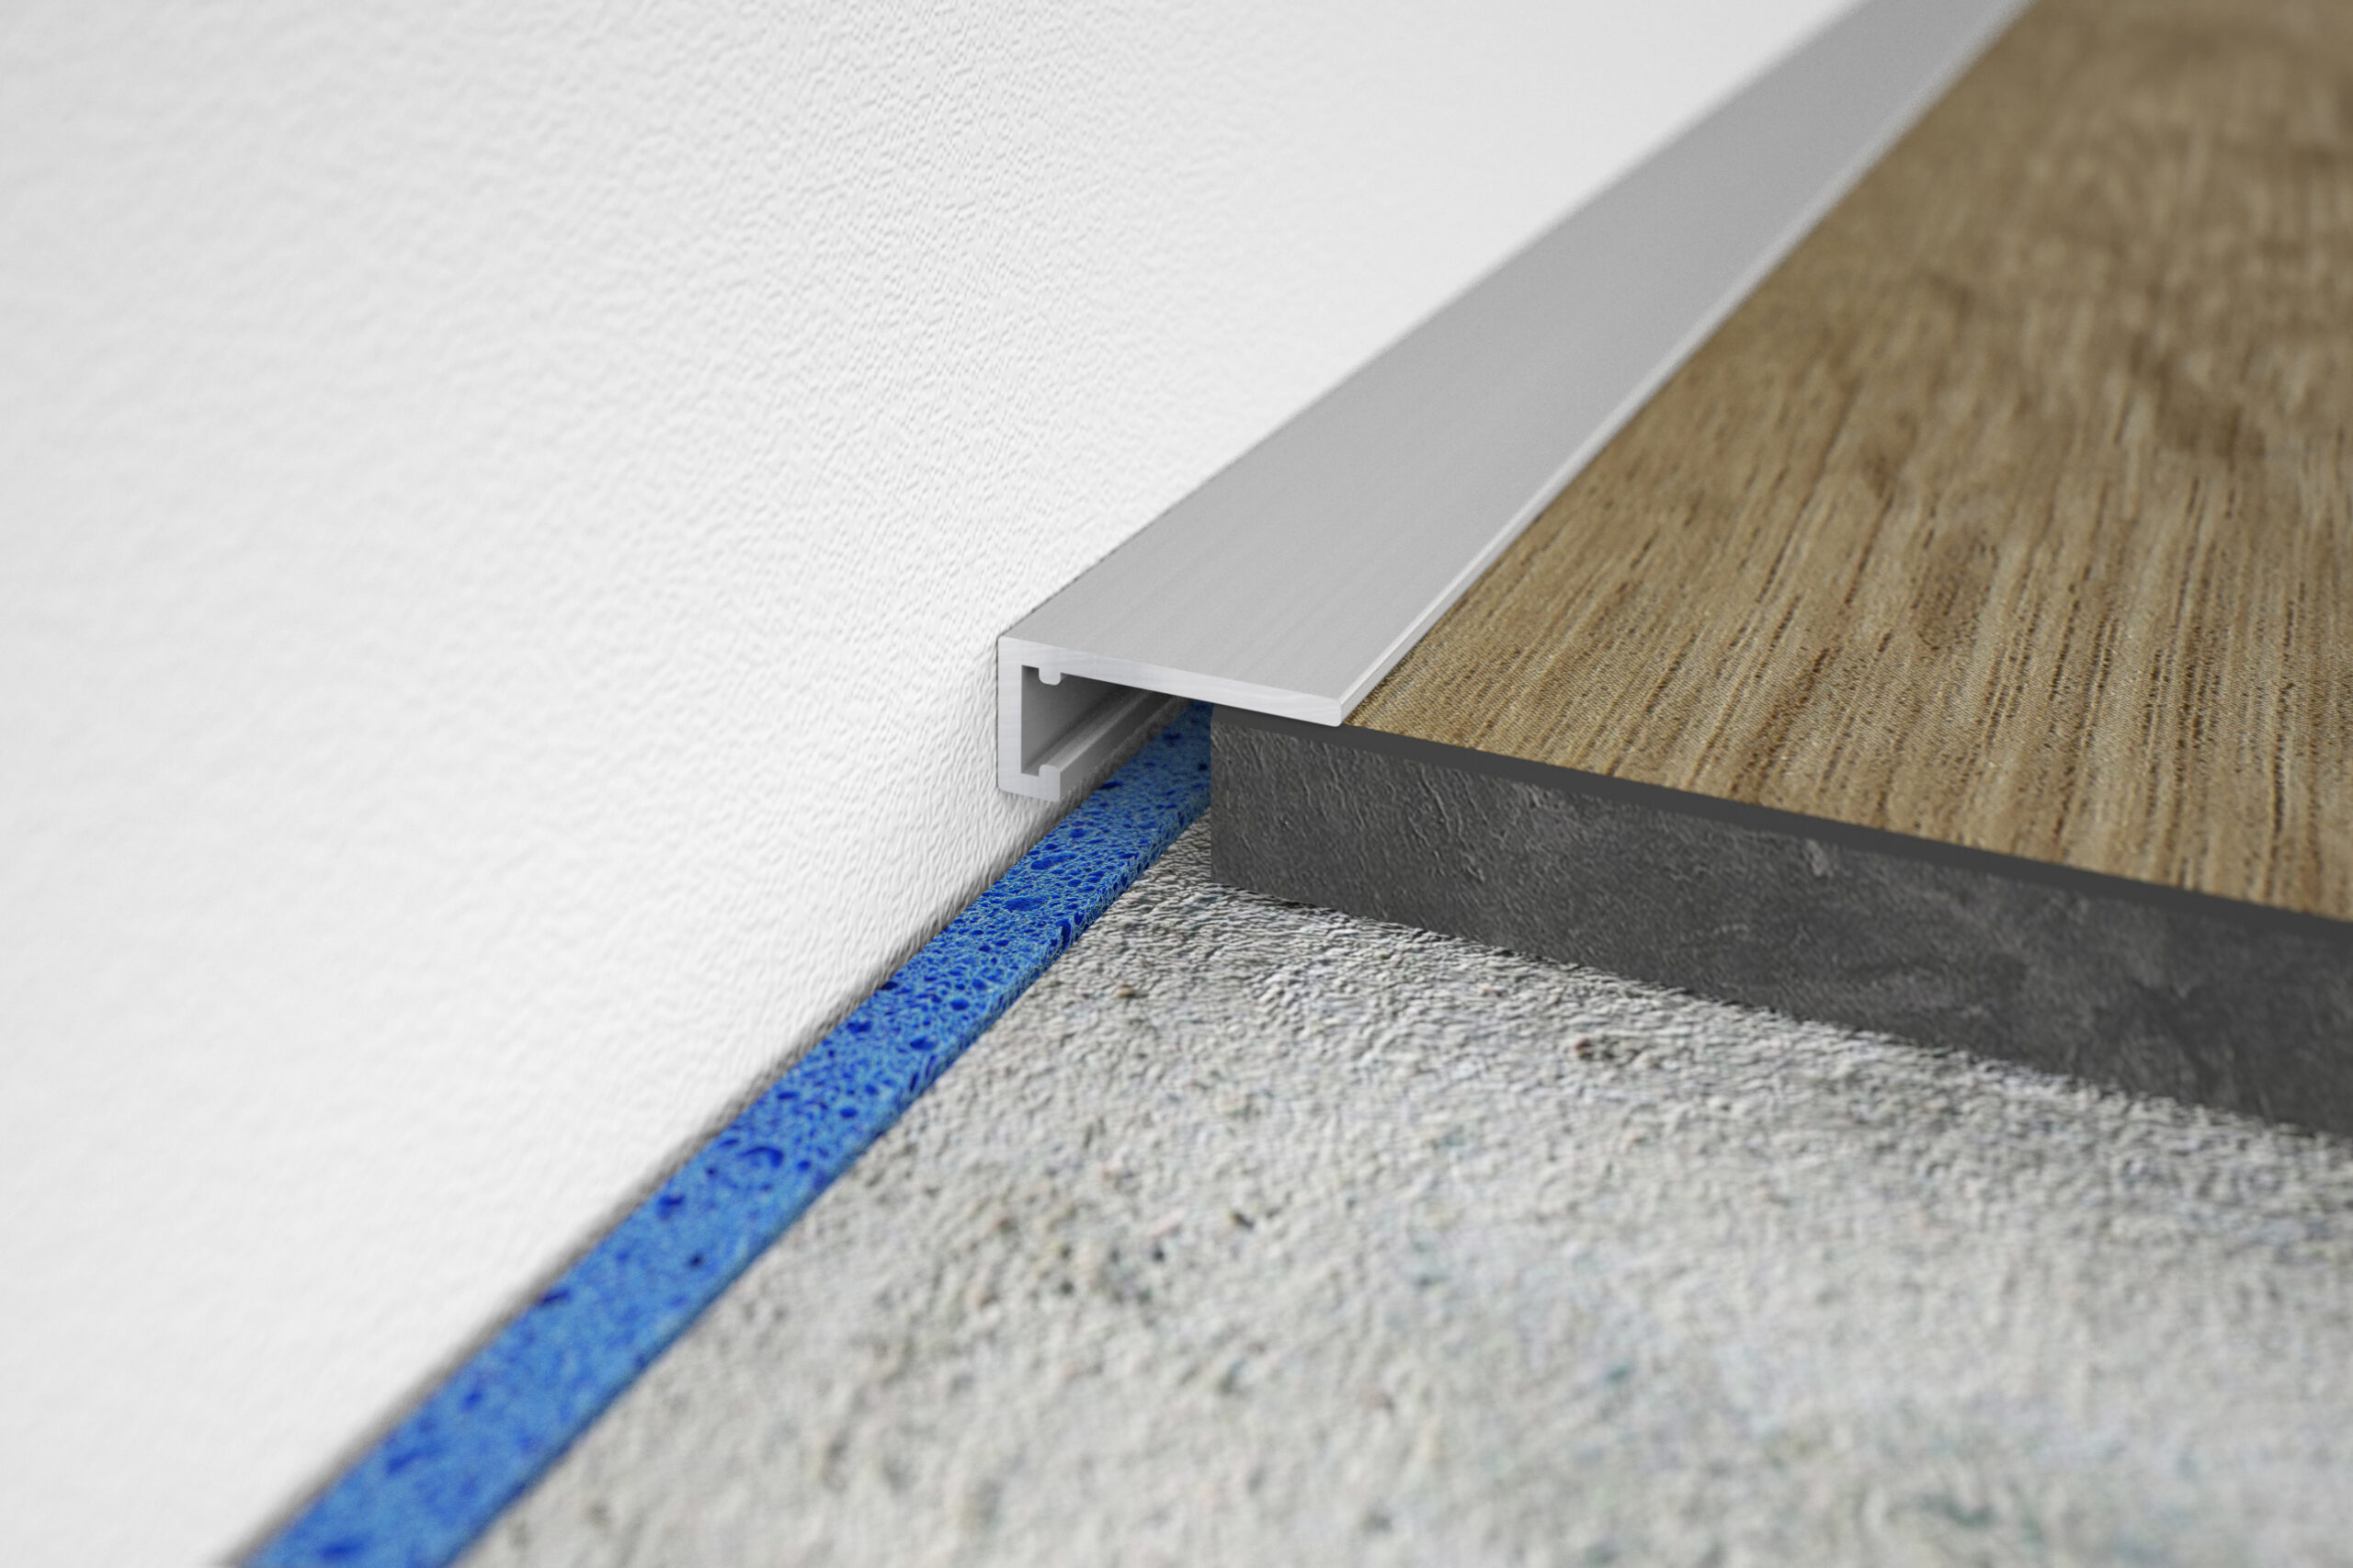
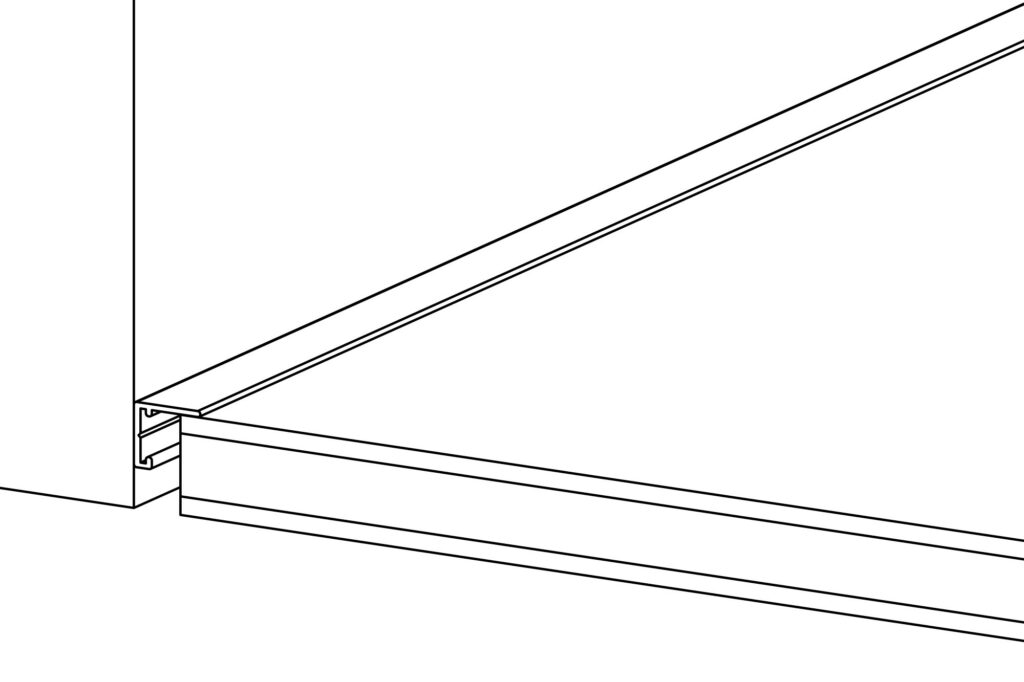
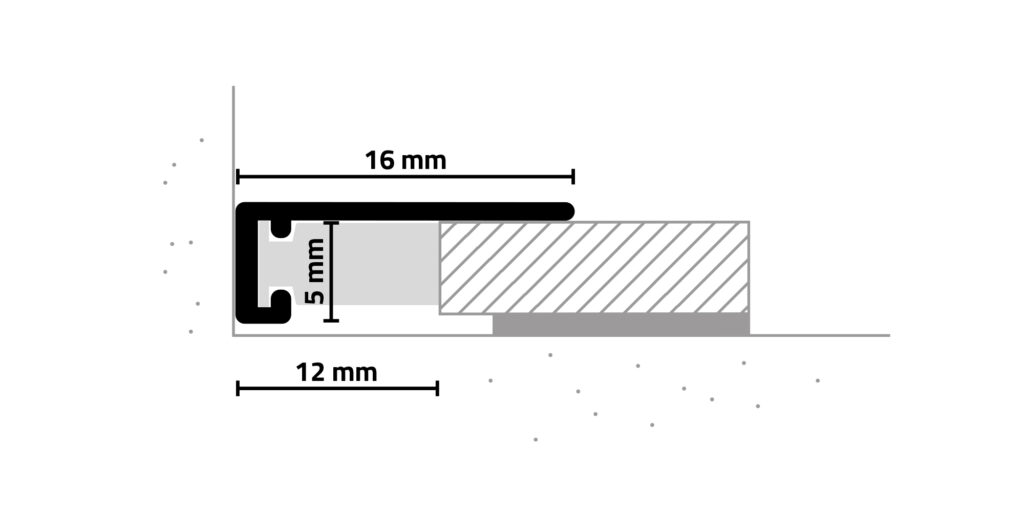
The AL16X5 finishing profile creates a discreet and innovative finish from the floor covering to the wall, window (frame) or stair step – where connection and expansion joints must be maintained structurally

Suitable for:
parquet, laminate, design floors and tiles – from a floor thickness of 5 mm
Prísur: 120 kr/m v/mvg

Eingi Amboð, skjótt og lætt

Installering við bara 8 stigum

Stig 1

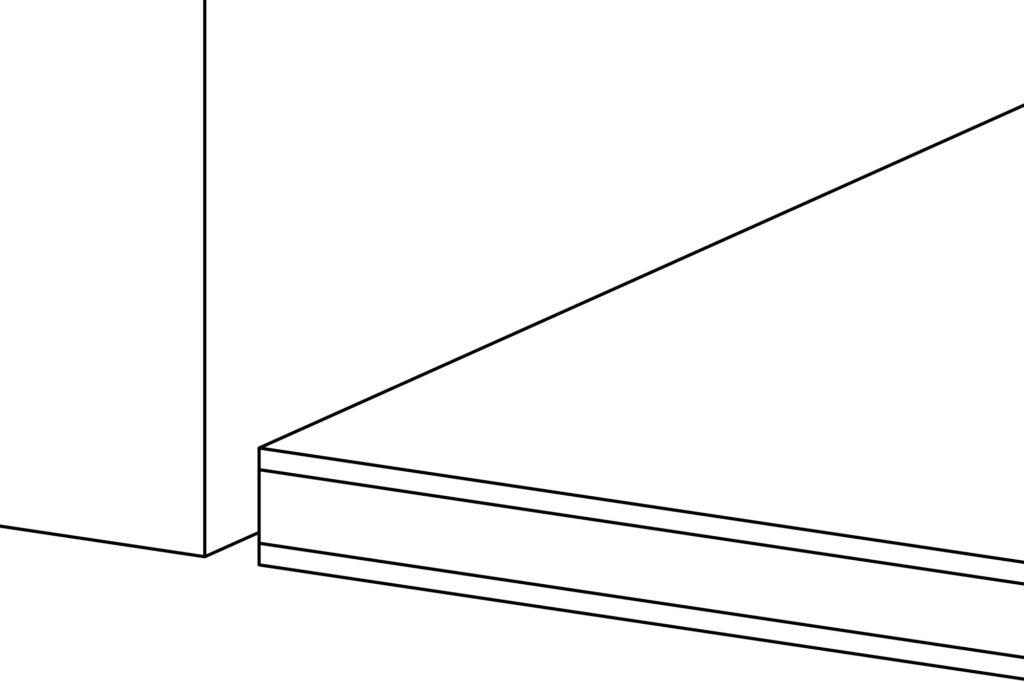
The width of the connection joint should be between 5 and 13 mm depending on the termination system used (see data sheets). The thickness of the floor covering also needs to be taken into account. Our type X5 systems can be used with a minimum floor covering thickness of 5 mm.

Stig 2

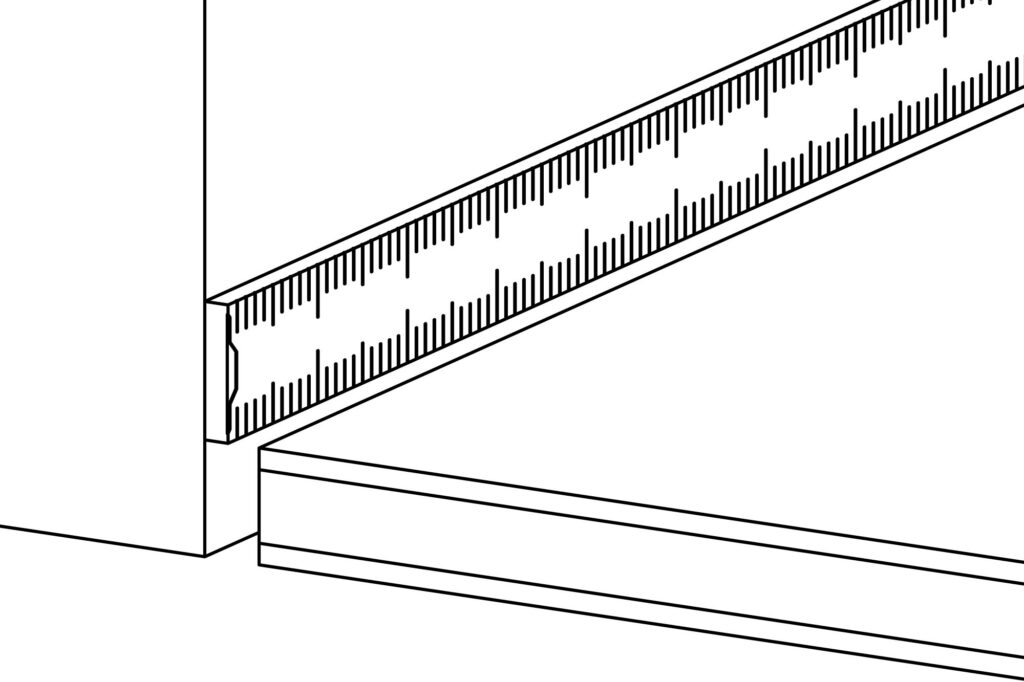
The dimensions for the profile cuts are taken from the wall surfaces. Miter cuts for inside and outside corners are taken into account here.

Stig 3

The profiles are cut to length to suit. The miter cut for the inside or outside corner is made in one operation. The profile is pressed securely onto a wooden support and positioned correctly in the saw. The cutting direction of the saw presses the profile against the wooden support during the cutting process.

Stig 4

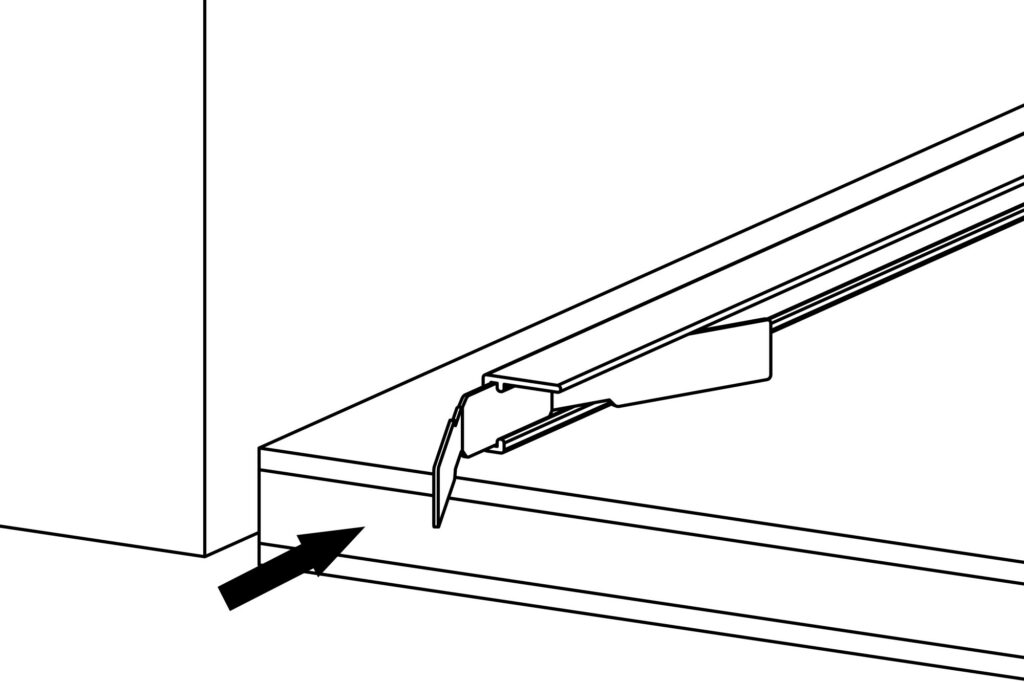
The mounting clips are inserted into the end strip at the front. Attention: There are two opposing shoulders incorporated into the end strip, between which the mounting clips can be guided smoothly.

Stig 5

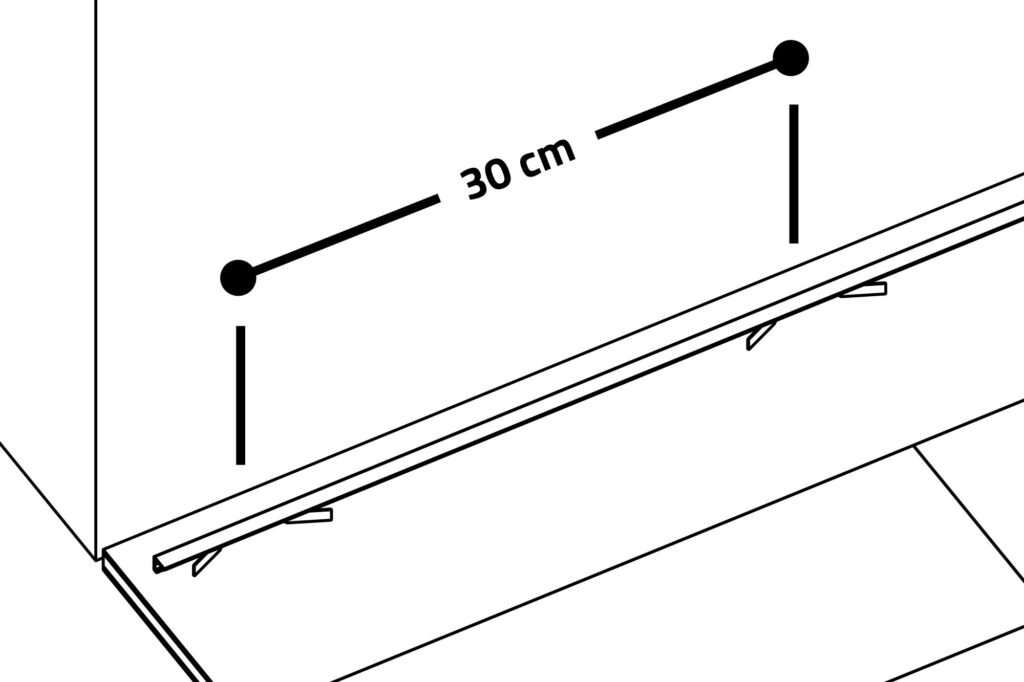
The mounting clips should be inserted into the end strip at a distance of approximately 30 to 60 cm from each other. Depending on the unevenness in the masonry, individual mounting clips can be installed at closer intervals so that the end strip sits flush against the masonry.

Stig 6

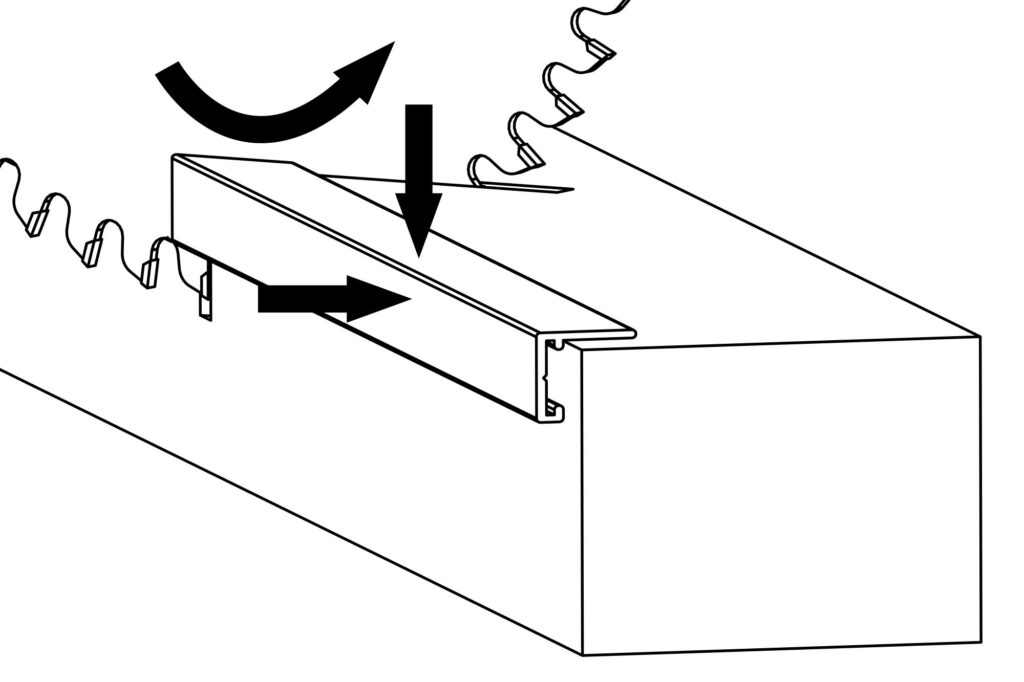
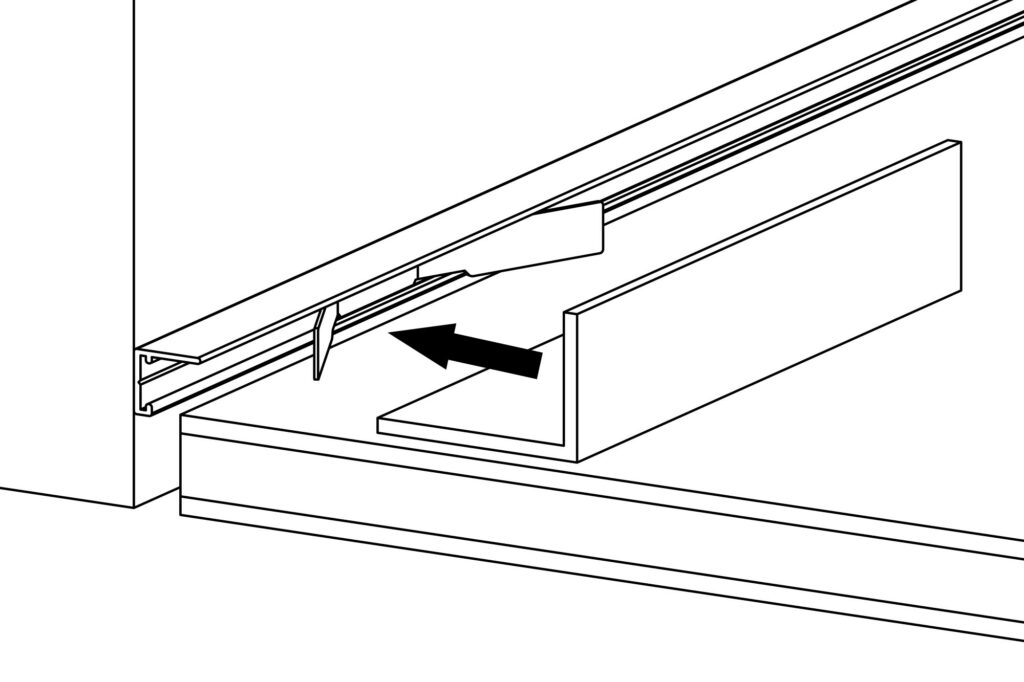
The end strip with the inserted mounting clips is now brought into mounting position on the wall surface. The mounting clips are carefully spread out using the mounting aid by pushing the mounting clips towards the wall with the mounting aid.

Stig 7

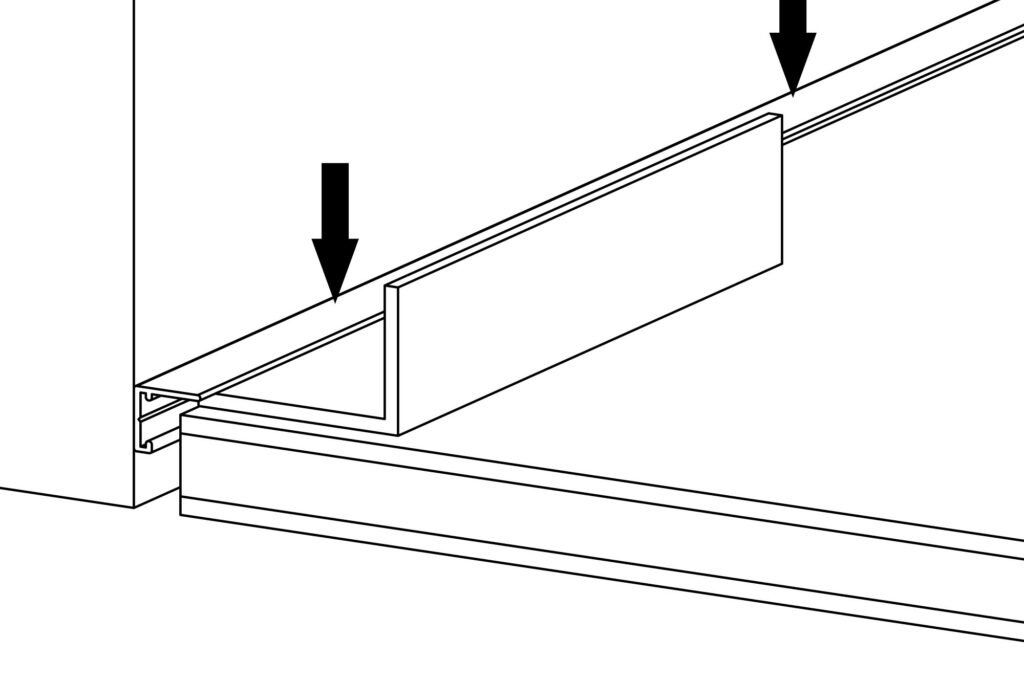
As soon as the clamping process is completed, the end strip is pressed down and the assembly aid is removed. Now the tensioning and assembly process is repeated until all of the assembly clips of an end strip are tensioned and recessed. The end strip can be removed from the connection joint at any time for any corrections.

Stig 8

The end strip is installed. After a brief check, the next section can be assembled.